


Because of a current limitation in Open edX, when an LTI Consumer is created, a new Client ID is created. This limits you, out of the box, to only one LTI 1.3 link per course. (You could create multiple Lazuli configurations, but it is terribly cumbersome).
For a single resource link out in a course, this works fine. However, if you want to embed a separate LTI iframe per Open edX page (or unit) you will need to download and install the Open EdX released a plugin called reusable LTI Store. This allows you to create one LTI configuration and reuse it in multiple LTI 1.3 consumer xblocks.
Step 1: Download and Install the Reusable LTI Store plugin
This does require downloading and installing an experimental ltistore plugin, https://github.com/openedx/openedx-tutor-plugins/tree/main/plugins/tutor-contrib-ltistore
Step 2: Add External LTI Configuration
Once installed, you can access the controls in the django admin panel at /admin/lti_store/externallticonfiguration/ and select “Add External LTI Configuration”
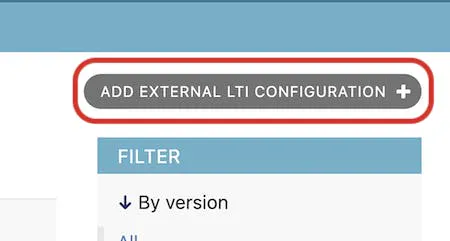
Then you will need to fill in the LTI tool configuration details. You'll get many of the configuration details from Lazuli on you Lazuli LTI configurations page (https://lazuli.design/orgs/{your-org-id}/settings/lti).
Name: Use a name that distinguishes it from other installed LTI configurations. This could be simply "Lazuli"
Slug: this is used for the second half of the filter key. Open edX recommends tool-environment-purpose or something like “lazuli-prod-authoring”.
Version: LTI 1.3.
LTI 1.3 Client ID: this is supposed to be generated by the platform, but you can put anything in here, but make sure it doesn’t duplicate any others used by other LTI tools. A UUID works fine.
LTI 1.3 Deployment ID: This field is optional. Demployment IDs are useful if you have multiple deployments in an organization (such as for different colleges, departments or campuses). If you need to, you can simply put in 1.
LTI 1.3 OIDC URL: use https://lazuli.design/api/lti1p3/login?orgId={your organization}
LTI 1.3 Launch URL: use https://lazuli.design/api/lti1p3/launch
LTI 1.3 Private Key: you’ll need to generate one, as this is the private key of the platform (ie Open edX). Open edX recommends you use IMS LTI Reference Implementation, however, this produces PKCS#1 keys, so you will have to convert it to PKCS#8 (it's best if you use 2048 bit). Include everything starting with -----BEGIN PRIVATE KEY----- and ending with -----END PRIVATE KEY----- This tool is helpful: https://emn178.github.io/online-tools/rsa/key-generator/
LTI 1.3 Private Key ID: use anything unique (such as a UUID), but a time-based KID works well (such as including the date and a unique id like 2025_01_05_key123).
LTI 1.3 Tool Keyset URL: use https://lazuli.design/api/lti1p3/jwks
LTI 1.3 Redirects URI: include all referenced links as a JSON array, but at a minimum you can use ["https://dev.lazuli.design/api/lti1p3/launch"]
Enable LTI Advantage Deep Linking
LTI Advantage Deep Linking launch URL: use the Deep Linking URL, https://lazuli.design/api/lti1p3/launch
Save the configuration and it should generate a public key automatically.
You should then be able to return to the lti_store/externalconfiguration screen and you’ll see your new configuration:
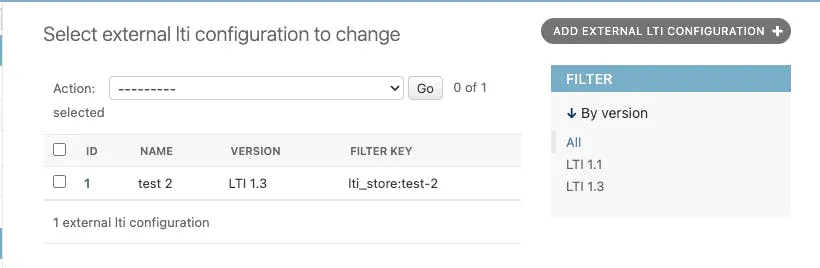
The Filter Key is what you’ll need to set up your LTI 1.3 Consumers.
Step 3: Create an LTI component to get your configuration details for Lazuli
You will now need to create an LTI component in your course to get the information needed for Lazuli. This is just to get the configuration information and you can adjust the component as needed later.
Note: In some versions of Open edX, this requires enabling "LTI_consumer" in your advanced components in your admin configuration. In recent versions of Open edX, this is set already.
In your Open edX unit, select Advanced components
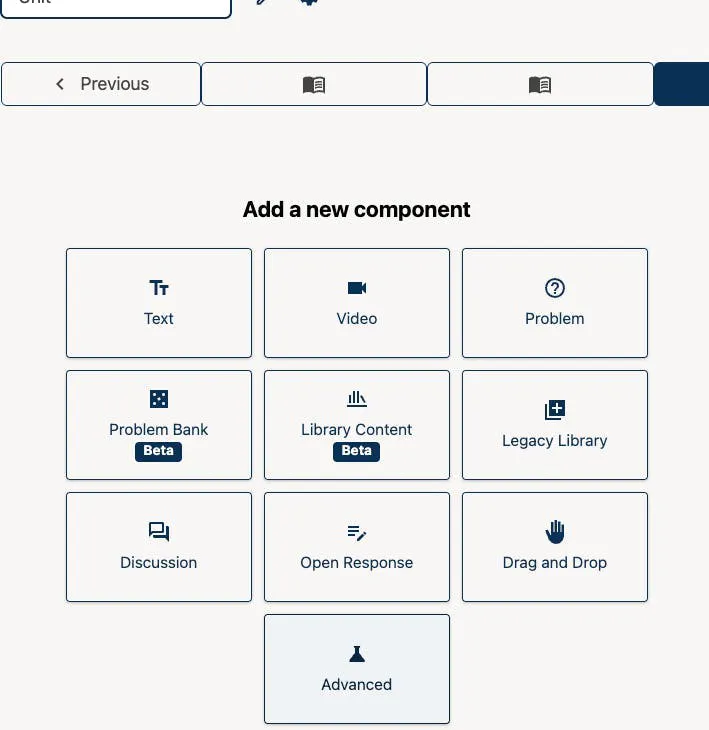
and select LTI Consumer and then select the Edit (pencil) icon.
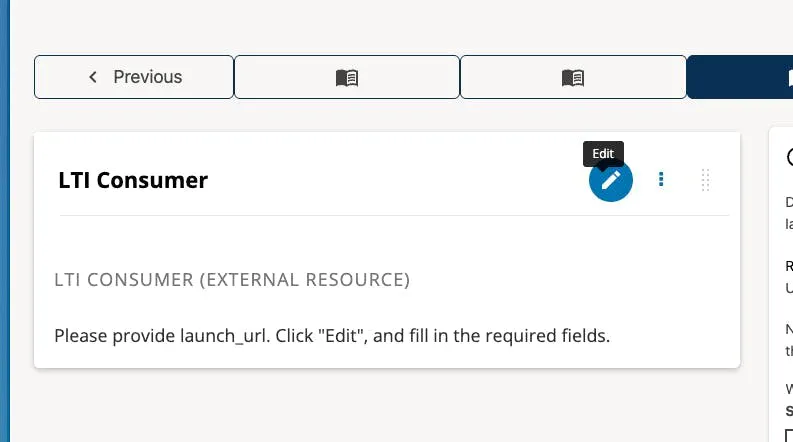
Enter the following details:
Configuration Type: Use "Resuable Configuration".
LTI Version: Use LTI 1.3
LTI Reusable Configuration ID: Use the Filter Key from Step 2 above
You'll now see the information you need to include in lazuli to configure your LTI connection
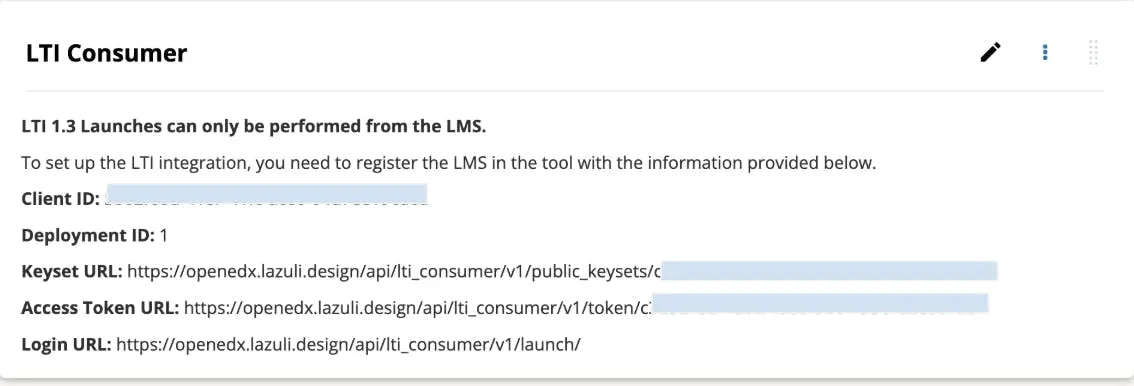
Step 4: Configuring your LTI in Lazuli
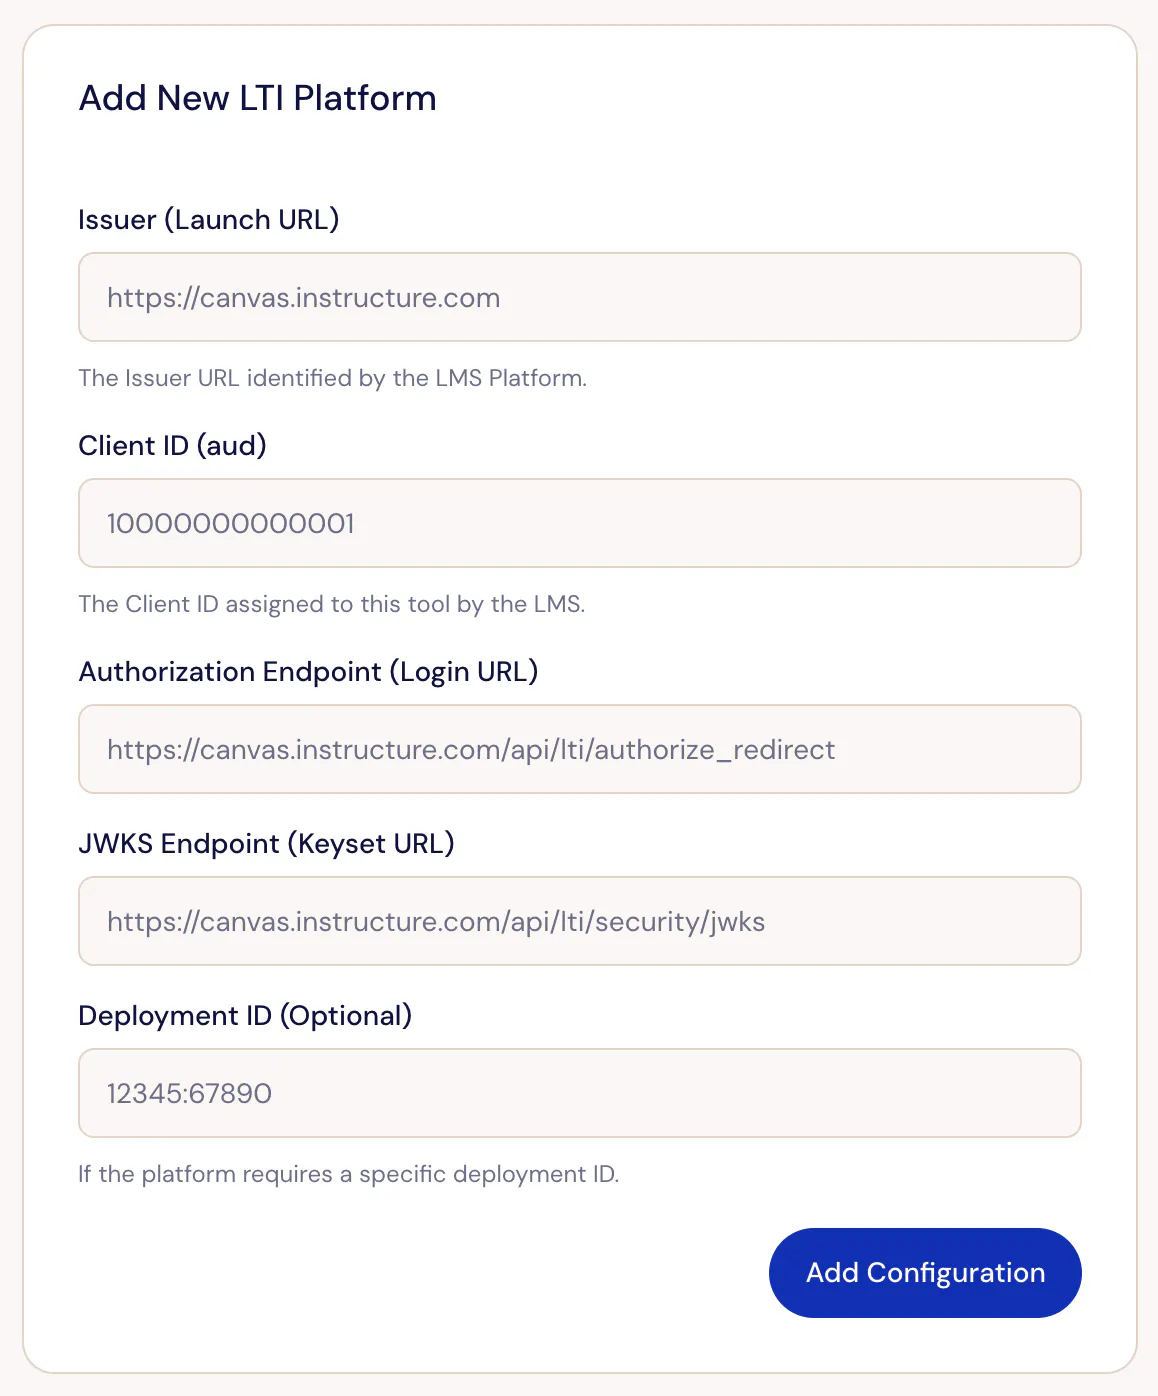
You’ll need to return to your LTI configuration in Lazuli’s admin panel (https://lazuli.design/orgs/{your-org-id}/settings/lti) and Add New LTI Platform. This is the step where you tell Lazuli how to connect to Canvas.
Issuer (Launch URL): Use your Open edX url (e.g. for us it's https://openedx.lazulidesign)
Client ID (aud): Use the Client ID from the component block
Authorization Endpoint (Login URL): use the Login URL from the component block
JWKS Endpoint (Keyset URL): use the Keyset URL from the component block
Deployment ID: use the deployment ID from the component block
(you do not need to use the Access Token URL)
When you return to Open edX, you should be able to preview the course and access the deep linking launch in the component block.
